Phoner Lite for Windows Setup
Download PhonerLite here
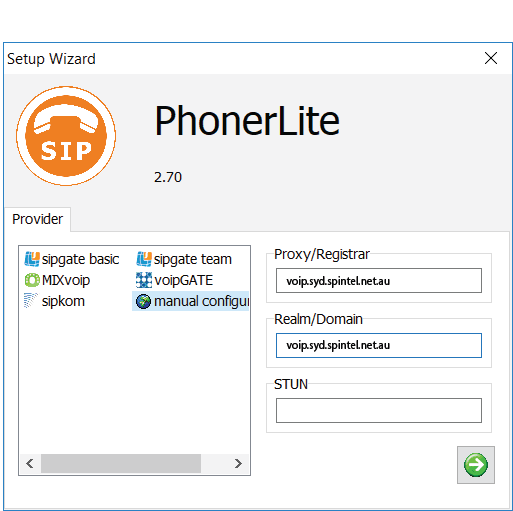
1. Enter the following settings in the Setup Wizard:
Proxy/Registar: voip.syd.spintel.net.au
Realm/Domain: voip.syd.spintel.net.au
STUN: leave blank

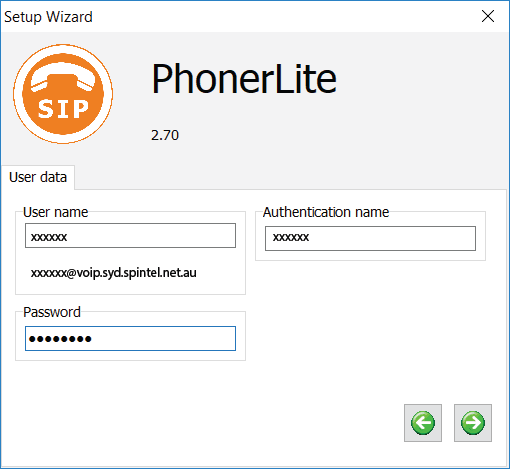
2. User data:
Username: Your sip number (xxxxxx)
Login: Your sip number (xxxxxx)
Password: Your sip-number password

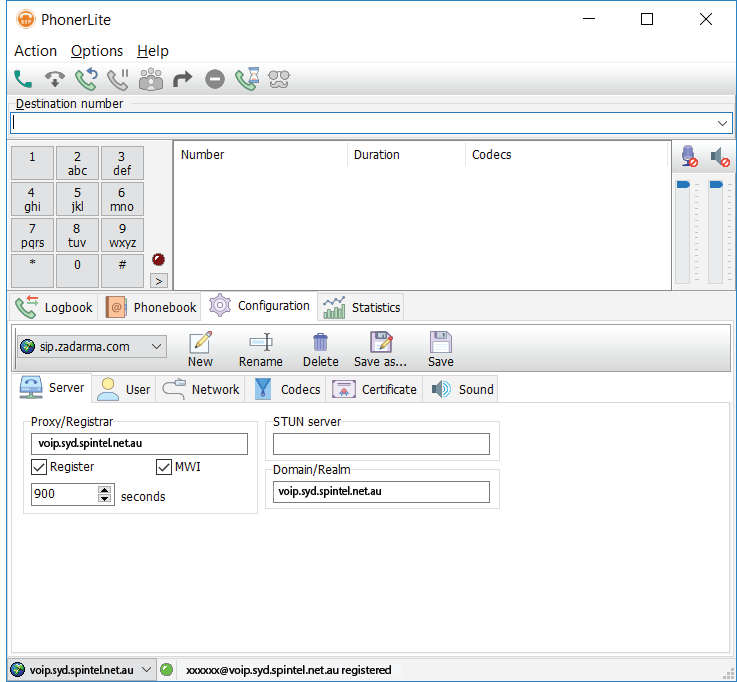
3. Complete settings:
Keep a default profile name or enter your owm.


When first launching Phonerlite a message from Windows Firewall might pop up. Press "Allow access" button.
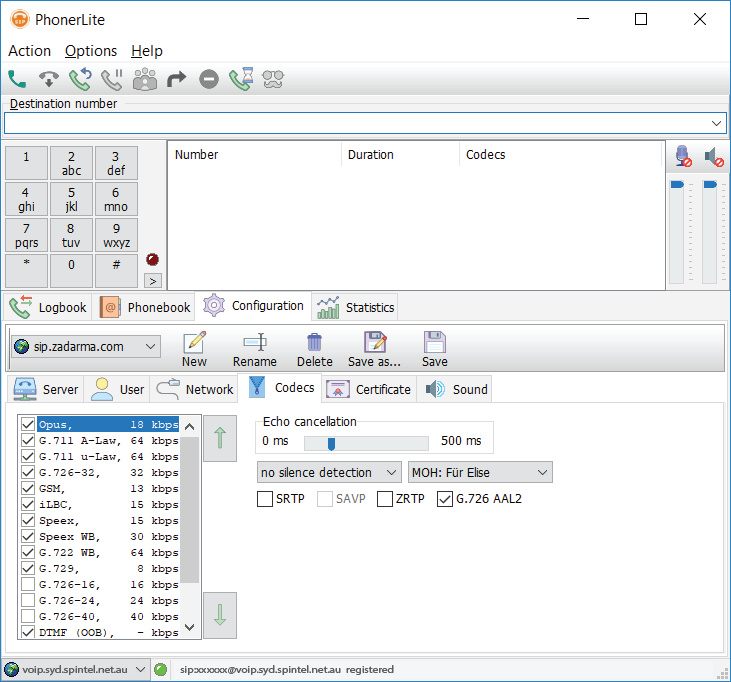
4. PhonerLite is ready for use.
Enter the phone number and click on the button with a green phone image to make a call.

If you need to enter additional settings, click on "Configuration".