MicroSIP for Windows Setup
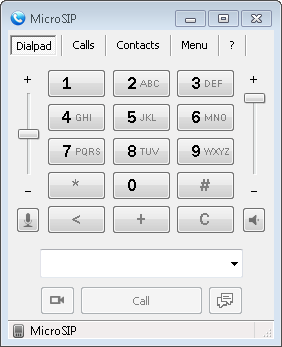
1. Download MicroSIP here and install it.
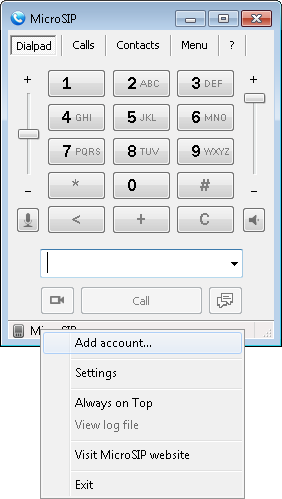
2. Right mouse click on "MicroSIP" icon, as shown below and select "Add account".
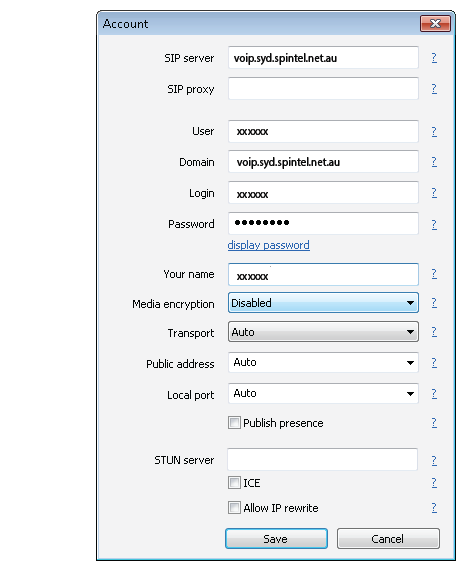
3. Enter the following settings and click "Save".
SIP server: voip.syd.spintel.net.au
User: Your sip number (xxxxxx)
Domain: voip.syd.spintel.net.au
Login: Your sip number (xxxxxx)
Password: Your sip-number password
Your name: Your sip number (xxxxxx)

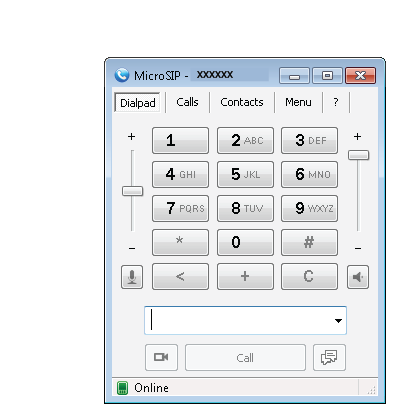
4. If the settings are correct, the status will appear as "Online".