
Linphone for Linux Setup
1. Download Linphone here and install it.
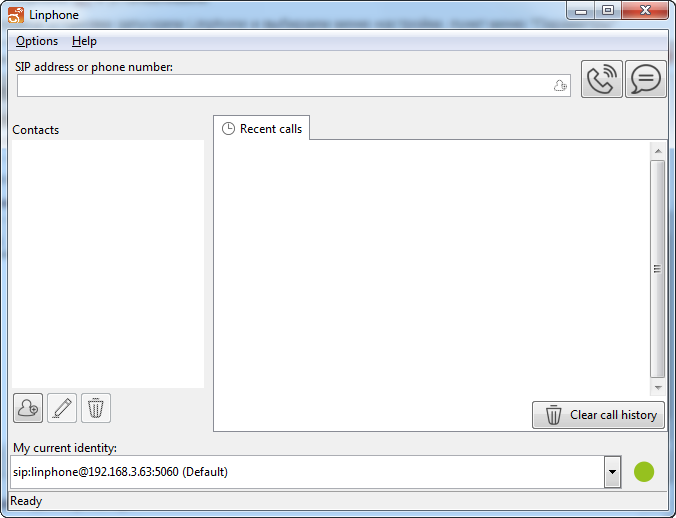
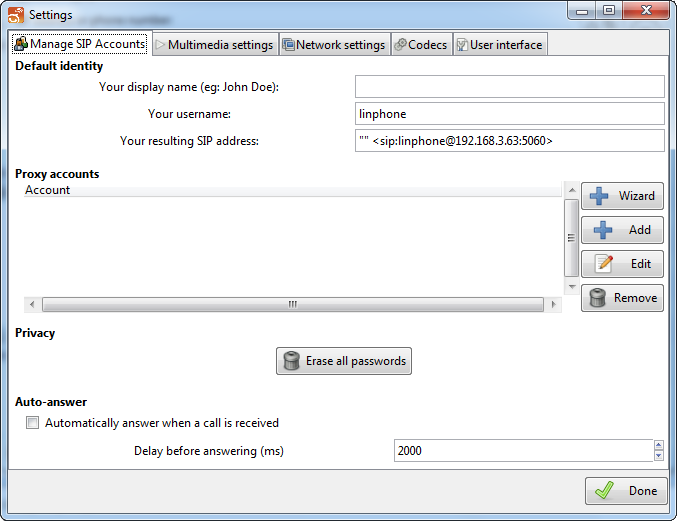
2. After successful installation launch Linphone and select "Options" - "Parameters".
3. Click "Add" in the "Manage SIP account" tab
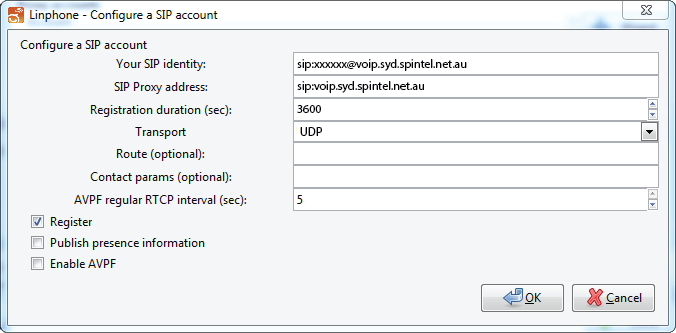
4. Enter the following information and click "OK".
SIP identifier: sip:xxxxxx@voip.syd.spintel.net.au (xxxxxx is your sip number)
SIP-proxy address: sip:voip.syd.spintel.net.au

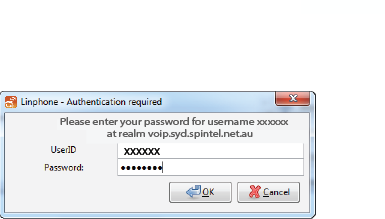
Enter your SIP number password and click "OK"

5. Click "Done".
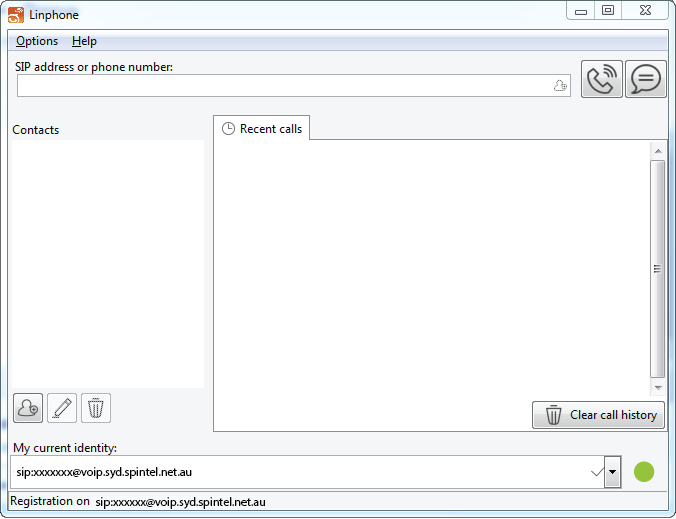

6. If the settings were entered correctly, "Registration is successful" message will appear at the bottom of the screen.