
Linphone for Windows Setup
1. Download Linphone here and install it.
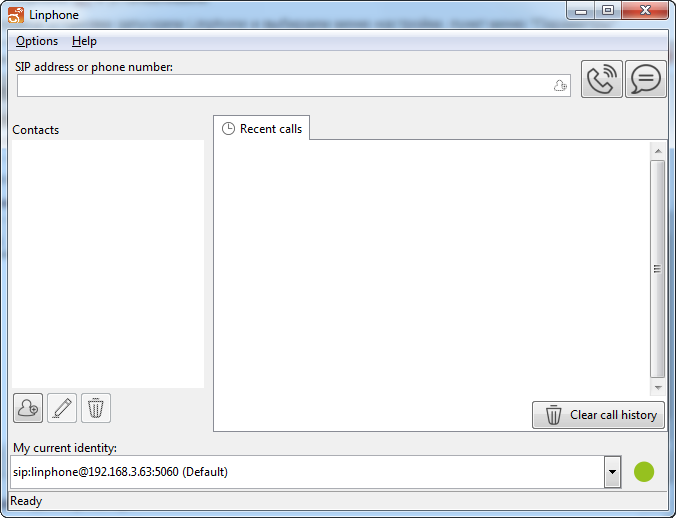
2. After the successful registration launch the Linphone and go to "Options", "Parameters".
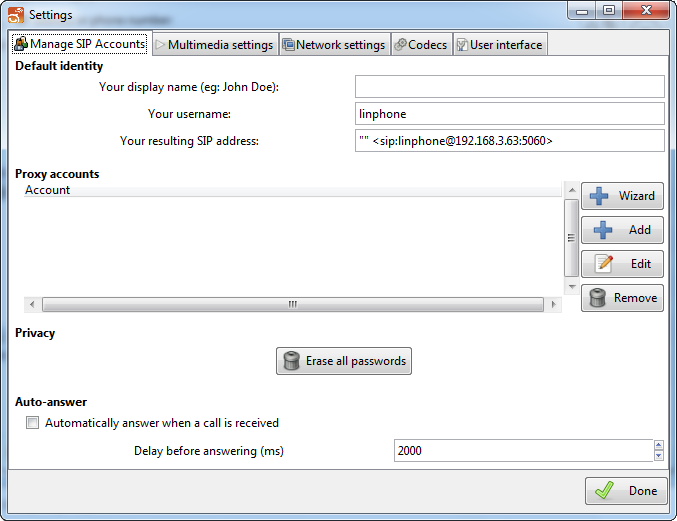
3. Select "Manage SIP accounts" and click "Add".
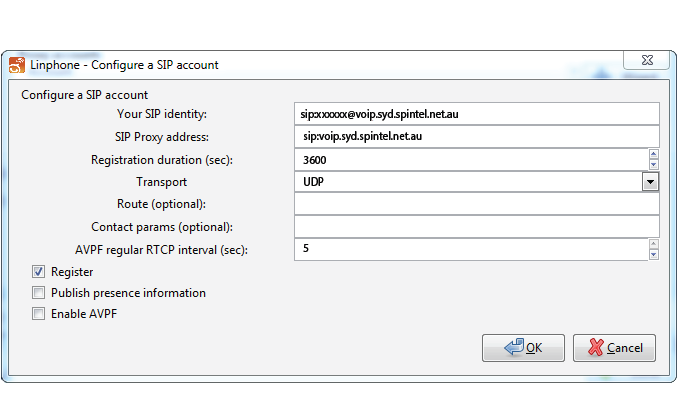
4. Enter the following settings and click "OK".
SIP Identifier: xxxxxx@voip.syd.spintel.net.au (replace xxxxxx with your sip number)
SIP-proxy address: voip.syd.spintel.net.au
Registration timeout: 300

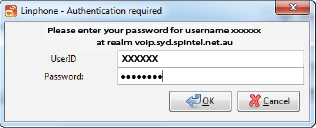
Enter the sip number password and click "OK".

5. Click "Done".
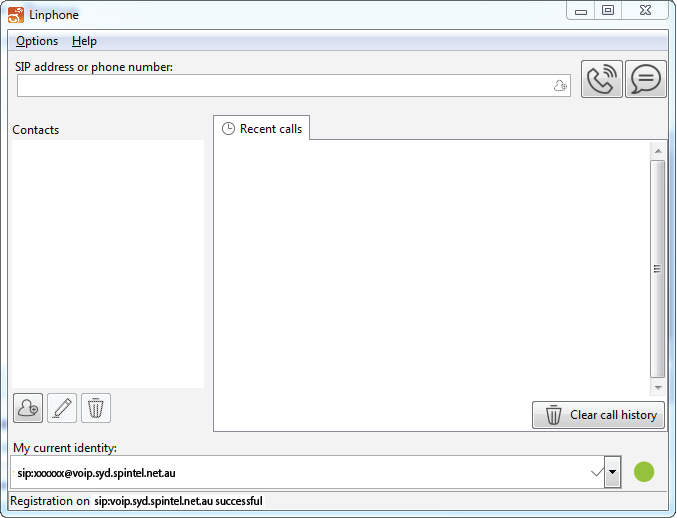
6. If settings are correct, "Registration is successful" message will appear at the bottom of the page.