
Jitsi Setup
1. Go to this link to download and install Jitsi.
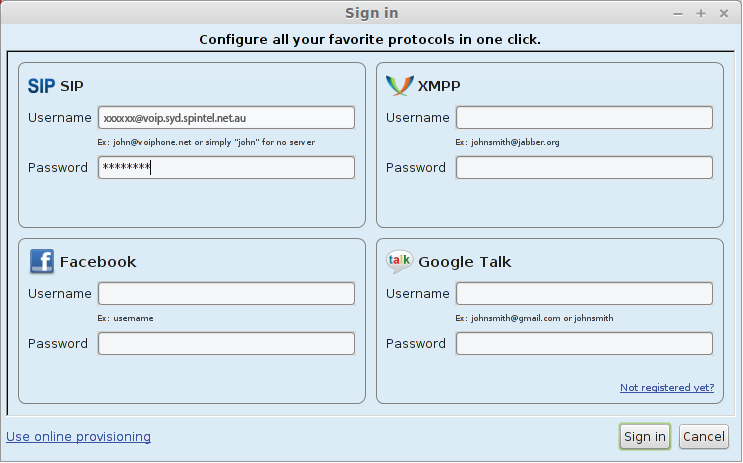
After the launch enter the following:
Username: Your sip number (xxxxxx)
Password: Your sip-number password

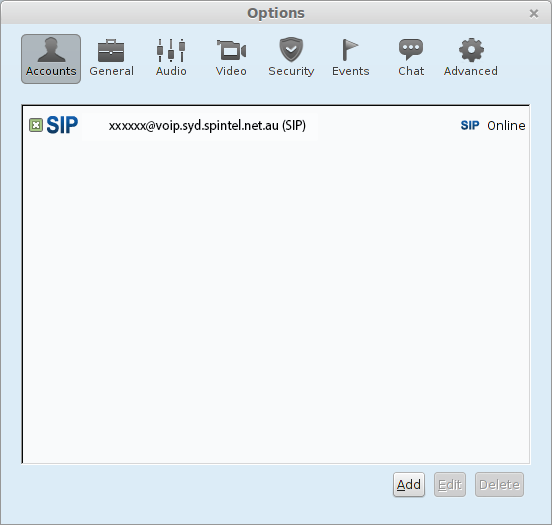
2. Select "Instruments", and then "Options".

3. Select your account and click "Edit"

4. Enter the following:
Authorization name: Your sip number (xxxxxx)
Proxy: voip.syd.spintel.net.au
Support method: REGISTER
DTMF method: RFC2833
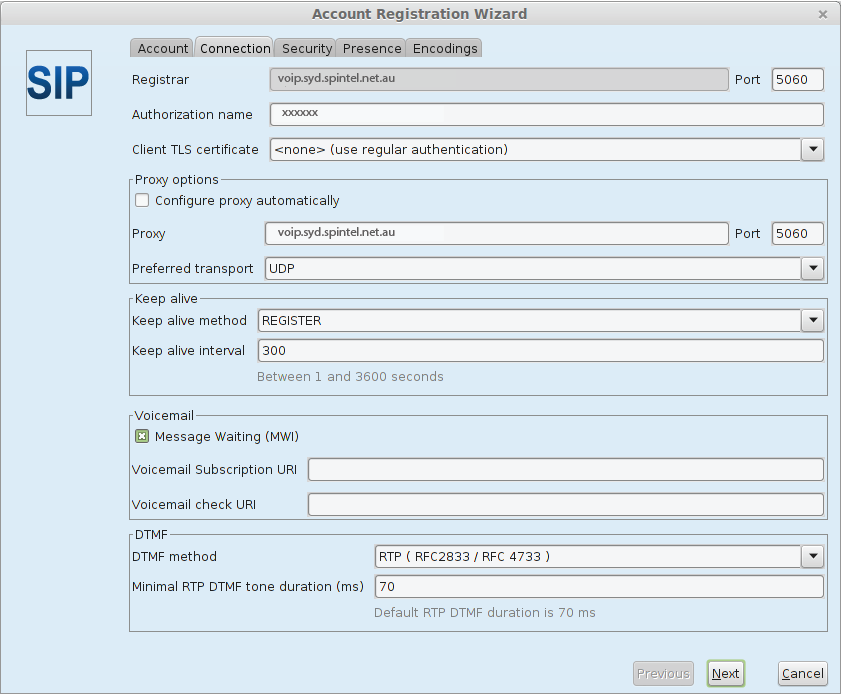

Click "Next"
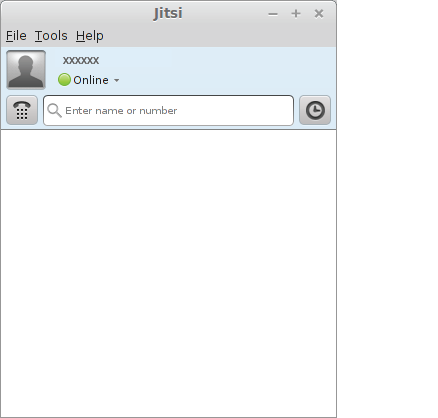
5. If the settings were entered correctly, the status will appear as "Online"