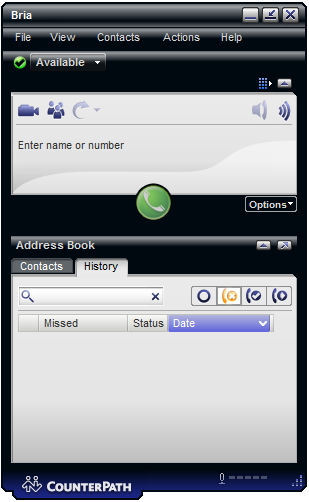
Bria 4 for Windows Setup
Application download page: download Bria
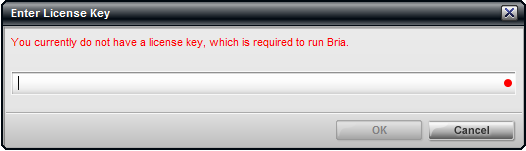
Attention: Bria is a paid application
1. During the first launch, you will be asked to enter a license key
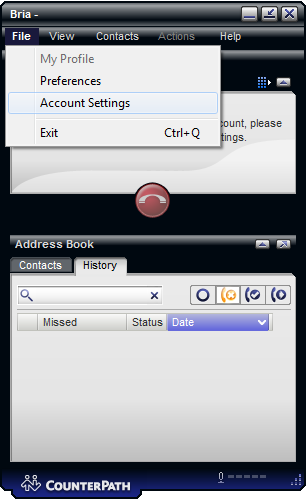
2. To obtain the license key, create an account. Click on File - Account settings:
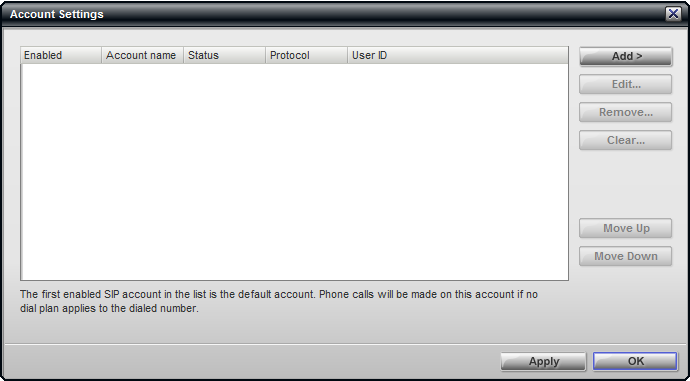
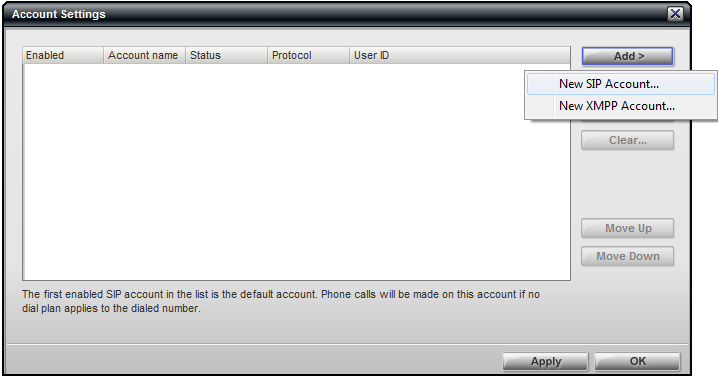
3. Click Add:
4. Click New SIP Account.
5. Enter the following settings:
Account name: Account 1
UserID: xxxxxx@voip.syd.spintel.net.au - replace xxxxxx with your sip number.
Password: Your sip-number password
Display name: Your sip number (xxxxxx)
Authorization name: Your sip number (xxxxxx)


6. If the registration is successful, status will appear as "Available", and you can make calls.